06 May Master Upholstery Chair Restoration: Complete DIY Guide to Transform Your Furniture
Transforming a worn-out chair into a stunning centerpiece for your living space is one of the most rewarding home improvement projects you can tackle. Whether you’ve inherited a vintage armchair from grandma or scored a diamond-in-the-rough at an estate sale, understanding the fundamentals of upholstery chair restoration can save you hundreds of dollars while giving your furniture a personalized touch that perfectly matches your décor.
Understanding Upholstery Chair Construction
Before diving into any upholstery chair project, it’s crucial to understand the anatomy of your furniture piece. Most upholstered chairs consist of several key components working together to provide both comfort and structure.
The frame forms the skeleton of your chair, typically constructed from hardwood like oak, maple, or beech for durability. Springs or webbing create the suspension system that provides bounce and support. Multiple layers of padding, including foam, batting, and sometimes horsehair or cotton, build up the comfort level.
The fabric covering serves as both the aesthetic face and protective layer of your chair. Finally, the foundation materials like burlap, cambric, and edge roll help maintain the chair’s shape over years of use.
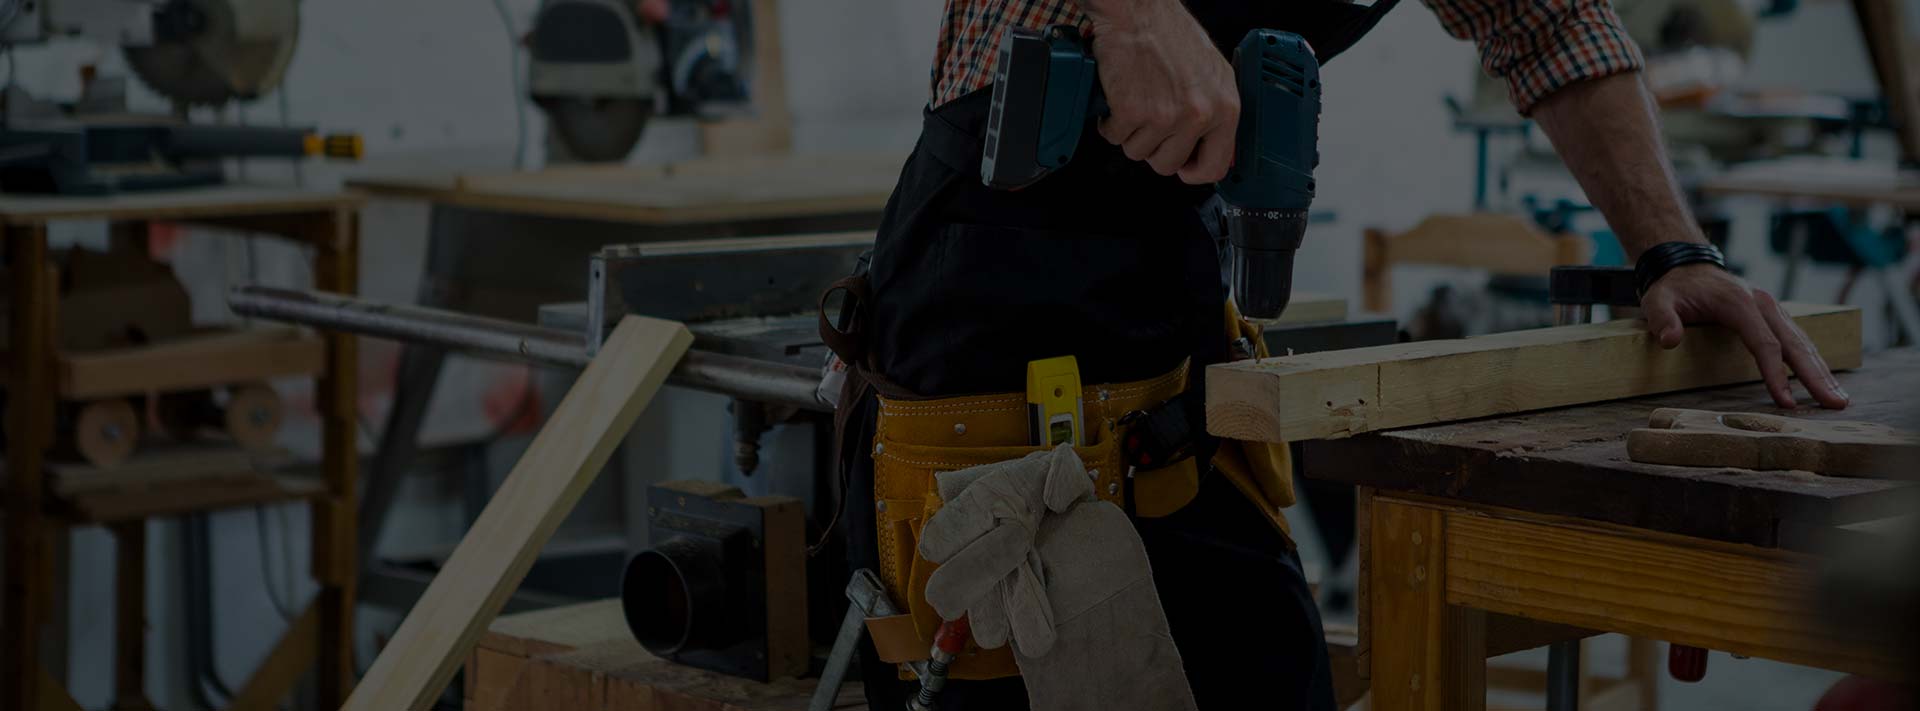
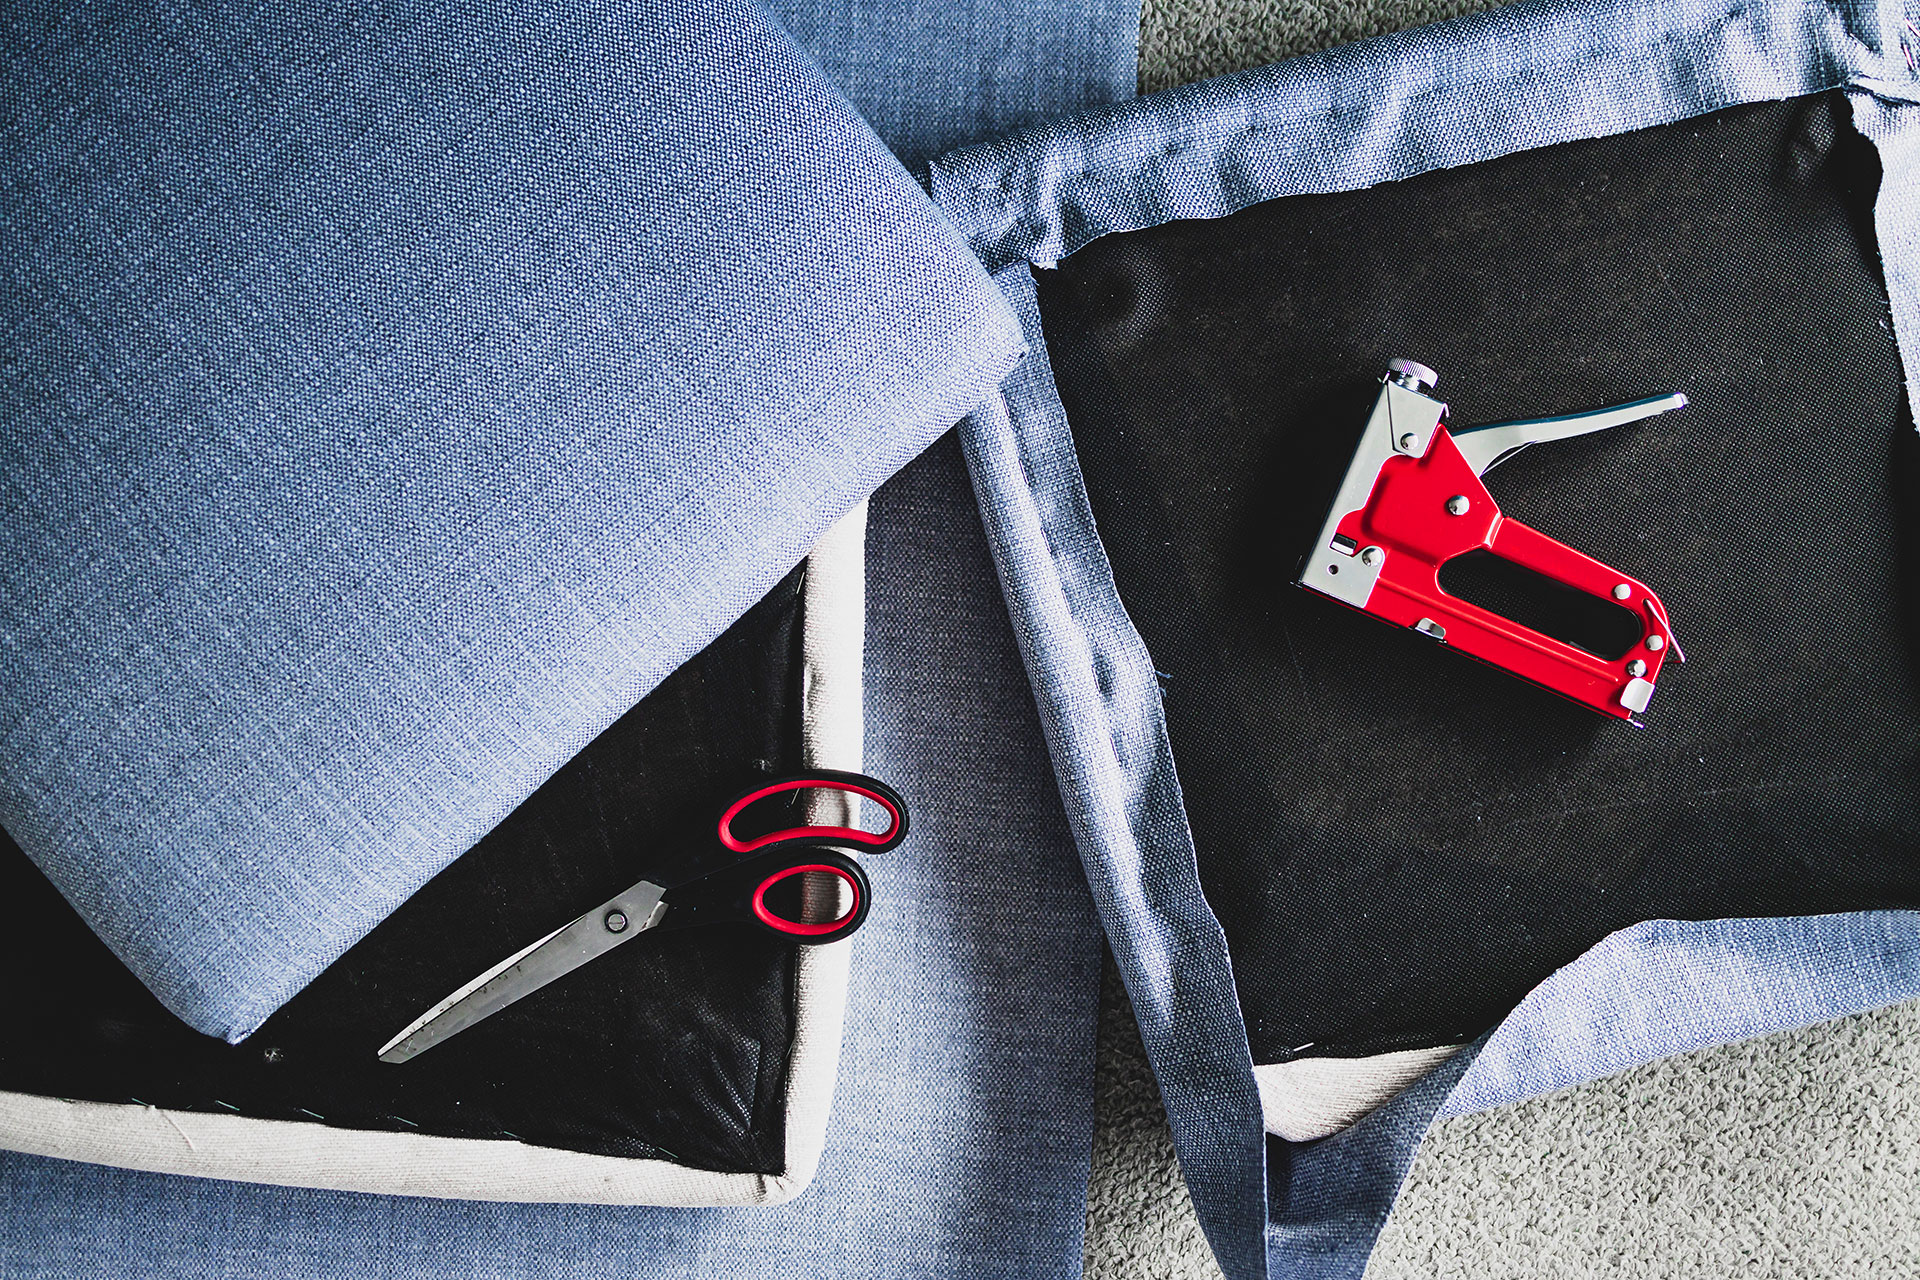
Essential Tools for Upholstery Chair Projects
Having the right tools makes the difference between a professional-looking result and a frustrating experience. Start with these fundamental items for your upholstery chair toolkit:
- Staple gun and staples: Choose a pneumatic or electric model for easier operation on thick materials
- Upholstery tack hammer: Magnetic tip helps position tacks accurately
- Fabric scissors: Sharp, heavy-duty shears designed for thick materials
- Seam ripper: Essential for carefully removing old fabric
- Pliers and tack pullers: For removing old staples and tacks
- Measuring tape and chalk: Accurate measurements prevent costly fabric mistakes
- Upholstery needles: Various curved and straight needles for different applications
Choosing the Right Fabric for Your Upholstery Chair
Fabric selection can make or break your upholstery chair project. The material you choose must balance aesthetics, durability, and practical considerations like cleaning requirements and usage patterns.
For high-traffic areas, consider performance fabrics with stain-resistant treatments or tightly woven synthetics that can withstand daily wear. Natural fibers like linen and cotton offer breathability and classic appeal but may require more maintenance. Leather and vinyl provide exceptional durability and easy cleaning, making them ideal for dining chairs or homes with pets.
Pay attention to the fabric’s weight and stretch properties. Heavyweight upholstery fabrics (measured in double rubs for durability) work best for seat cushions, while lighter-weight materials may suffice for chair backs or decorative elements.
Pro Tip: Calculate Fabric Yardage
Measure each section of your chair and add 6 inches to each dimension for working room. Don’t forget to account for pattern matching if using printed fabric. Most upholstery chair projects require 3-7 yards depending on chair size and style.
Step-by-Step Upholstery Chair Restoration Process
Successfully reupholstering a chair requires methodical attention to each phase of the process. Start by carefully documenting your chair with photos from multiple angles before disassembly.
Disassembly and Assessment
Remove the existing fabric systematically, labeling each piece as a pattern for cutting new material. Inspect the frame for loose joints, cracks, or woodworm damage that needs repair before proceeding. Test springs and webbing for integrity, replacing any broken or overstretched components.
Frame Repair and Preparation
Tighten all joints using wood glue and clamps where necessary. Sand and refinish exposed wood elements like legs or arms. This is also the perfect time to update the suspension system or add additional padding for improved comfort.
One critical aspect often overlooked in upholstery chair projects involves the proper installation of foundation materials. Many DIY enthusiasts discover too late that incorrect placement or selection of tack strips can cause fabric puckering and premature wear, ultimately compromising the professional appearance and longevity of their carefully restored furniture.
Applying New Materials
Layer your materials starting from the foundation up. Install new webbing or springs if needed, followed by burlap, padding layers, and batting. Each layer should be pulled taut but not overstretched, maintaining the chair’s original contours.
Cut your fabric pieces using the old covers as templates, adding seam allowances where necessary. Work from the inside out, securing fabric with temporary tacks before committing to final placement. Ensure patterns align properly and grain lines run straight.
Common Upholstery Chair Styles and Techniques
Different chair styles require specific approaches and techniques for successful reupholstery. Understanding these variations helps you tackle your project with confidence.
Traditional Wing Chairs
Wing chairs present unique challenges with their curved wings and rolled arms. Start with the inside back, then move to the wings, arms, and finally the seat. Use cardboard templates for complex curves to ensure accurate fabric cutting.
Modern Dining Chairs
Dining chair upholstery often involves simpler, cleaner lines but requires precise execution for a professional look. Focus on achieving sharp corners and smooth, wrinkle-free surfaces. Consider adding piping or welting for a refined finish.
Vintage Club Chairs
Club chairs typically feature deep seats and generous padding. When reupholstering these pieces, maintain the original comfort level by matching padding thickness and density. Don’t skimp on materials for these substantial furniture pieces.
Maintaining Your Newly Upholstered Chair
Proper maintenance extends the life of your upholstery chair investment significantly. Implement these care strategies to keep your furniture looking fresh for years:
- Vacuum regularly using upholstery attachments to remove dust and debris
- Rotate cushions weekly to distribute wear evenly
- Address spills immediately with appropriate cleaning methods for your fabric type
- Apply fabric protection sprays designed for your specific material
- Schedule professional deep cleaning annually for heavily used pieces
- Keep chairs away from direct sunlight to prevent fading
Cost Considerations for Upholstery Chair Projects
Understanding the economics of chair reupholstery helps you make informed decisions about whether to DIY or hire professionals. Factor in these elements when budgeting your project:
Material Costs
Fabric: $20-150 per yard
Padding/foam: $30-100
Supplies: $50-150
Total: $200-600 average
Professional Service
Labor: $300-800
Materials: $200-400
Pickup/delivery: $50-150
Total: $550-1,350 average
Troubleshooting Common Upholstery Chair Problems
Even experienced upholsterers encounter challenges. Here’s how to address frequent issues that arise during chair restoration:
Fabric puckering or wrinkles: Usually caused by uneven tension or insufficient stretching. Remove and re-stretch the fabric, working from the center outward in opposite directions simultaneously.
Lumpy or uneven padding: Often results from compressed or shifted filling. Add a layer of batting to smooth out irregularities, or replace old foam entirely if it’s deteriorated beyond repair.
Loose or sagging seats: Indicates failed webbing or springs. Address the underlying support structure before adding new padding and fabric, as cosmetic fixes won’t solve structural problems.
Mastering upholstery chair restoration opens up endless possibilities for personalizing your home décor while preserving quality furniture that might otherwise end up in landfills. Whether you’re refreshing a single accent chair or tackling an entire dining set, the skills you develop through hands-on upholstery work translate into both immediate satisfaction and long-term savings. With patience, the right tools, and attention to detail, you can transform any tired chair into a beautiful, comfortable piece that reflects your personal style and craftsmanship.