28 Sep Crafting Comfort: Essential Steps for Successful DIY Upholstery Projects?
There’s something incredibly satisfying about transforming an old, worn-out piece of furniture into a beautifully reupholstered gem with your own hands. DIY upholstery projects not only allow you to customize your furniture to your exact style but also give you the chance to breathe new life into tired pieces. However, crafting comfort with DIY upholstery requires a mix of creativity, patience, and a few essential techniques.
Whether you’re tackling your first project or looking to sharpen your skills, here are the essential steps to ensure your DIY upholstery project is a success, leaving you with a piece that’s both stylish and comfortable.
Choose the Right Piece
Before diving headfirst into upholstery, the first step is selecting the right piece of furniture. If you’re new to DIY upholstery, start with something simple like a dining chair, ottoman, or stool. These smaller pieces will allow you to practice your techniques without the overwhelming challenge of reupholstering a large sofa or sectional.
Look for a piece with clean lines and minimal curves. Simple designs are easier to work with and give you the confidence to tackle more complex projects later. Check the structure of the furniture—make sure it’s solid and in good condition. If the frame is wobbly or damaged, it’s best to repair that before starting the upholstery process.
Gather the Right Tools
Just like any craft, upholstery requires the right tools. Before you get started, make sure you have the following items in your upholstery toolbox:
- Staple gun and staples: An upholstery staple gun is essential for securing fabric to the frame. Make sure you have the right staples for the fabric you’re using.
- Upholstery scissors: A good pair of sharp scissors is crucial for cutting fabric cleanly and accurately.
- Upholstery tack remover: This tool helps you carefully remove old staples and tacks from the furniture without damaging the frame.
- Measuring tape: Precision is key in upholstery, so a reliable measuring tape will help ensure you cut the fabric to the right size.
- Upholstery foam and batting: For padding and comfort, you’ll need upholstery foam to replace any old or flattened cushions. Batting adds softness and smooths out the fabric.
- Webbing and webbing stretcher: If you’re reupholstering chairs or seats, webbing provides support for the seat. A webbing stretcher helps keep it tight and secure.
Having the right tools at your disposal can make or break your project—don’t cut corners on your supplies!
Prep Your Piece for Success
Before you get to the fun part of adding new fabric, you need to strip the piece down to its bare frame. Use your tack remover to carefully pull off the old fabric, staples, and tacks. This step is important because it helps you understand how the piece was originally assembled and gives you a clean slate to work with.
As you remove the fabric, take note of how it was layered and fastened to the frame. You can even take photos to use as a guide when you’re ready to reassemble. Once the old fabric and padding are removed, check the frame for any damage or weak spots. Now’s the time to make repairs—tighten screws, glue loose joints, or replace broken components.
Cut Your Fabric with Precision
When it comes to cutting your new fabric, precision is everything. Upholstery fabric is often thick and durable, which means mistakes can be costly. Use your measuring tape to carefully measure each section of the furniture, adding a few extra inches on all sides to allow for tucking and stapling.
It’s always a good idea to measure twice and cut once. Lay your fabric out on a flat surface and use chalk or fabric markers to outline the cuts before bringing out the scissors. This extra step will help ensure you don’t accidentally cut too short or misalign your pattern.
If you’re working with a patterned fabric, make sure to align the pattern properly across the cushions or panels. A mismatched pattern can throw off the entire look of your finished piece.
Layer with Foam and Batting
Comfort is key in upholstery, so make sure you give your piece plenty of padding. Upholstery foam is used for seat cushions, backrests, and armrests, providing a firm yet comfortable base for sitting. Choose foam with the right density—higher-density foam offers better support and lasts longer.
After you’ve cut the foam to size, cover it with batting. Batting softens the foam and creates a smooth surface for the fabric. Use a staple gun to attach the batting to the frame, making sure to pull it tight and remove any wrinkles.
Staple and Stretch
Now it’s time to cover your piece with the new fabric. Begin by stapling the fabric in the center of each section, pulling the fabric tight as you go. Then work your way outwards toward the edges, alternating sides to keep the fabric evenly stretched. This helps prevent wrinkles or sagging in the finished upholstery.
Be mindful of corners and curves. These areas can be tricky, but with patience, you can fold the fabric neatly for a clean, professional look. For sharp corners, make small cuts in the fabric to allow it to fold smoothly around the edges.
Take your time during this step—tight, even fabric is the hallmark of well-done upholstery.
Finish with Trim or Decorative Elements
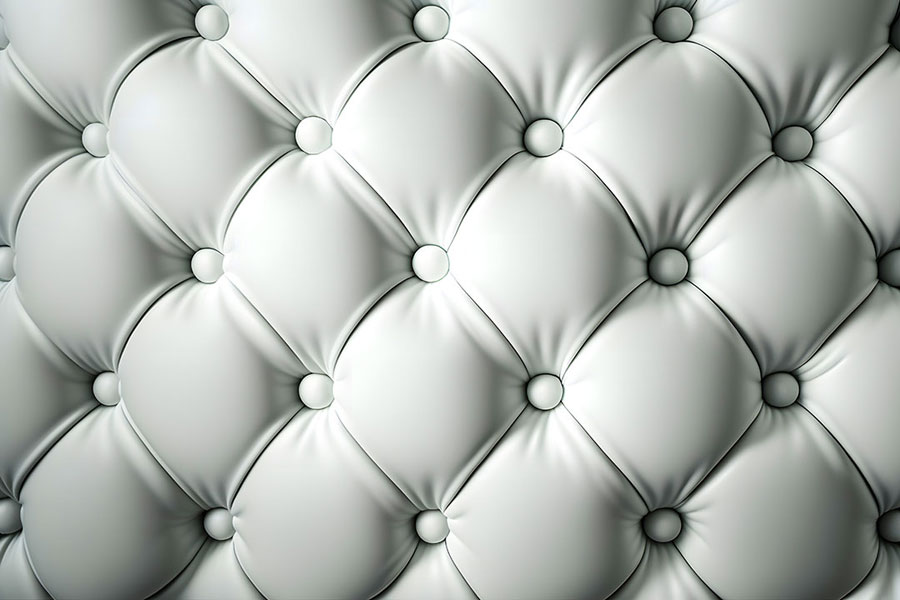
Once the fabric is secured, it’s time to add the finishing touches. Decorative elements like piping, nailhead trim, or tufting can take your project to the next level. Nailhead trim adds a classic, polished look, while piping gives edges a tailored finish. If you’re feeling adventurous, try your hand at button-tufting for an extra touch of elegance.
These final details are what turn a DIY upholstery project from ordinary to extraordinary, showcasing your craftsmanship and attention to detail.
Conclusion
Upholstering your own furniture may seem like a daunting task, but with the right steps and tools, you can create pieces that are both beautiful and functional. From choosing the perfect fabric to mastering the art of stretching and stapling, each step of the process brings you closer to transforming old furniture into comfortable, stylish pieces that reflect your personal style.
Remember, patience is key, and practice makes perfect. As you tackle more DIY upholstery projects, you’ll gain confidence in your abilities and discover your own signature style. So, gather your tools, pick your fabric, and get ready to craft comfort with your very own hands!